IPHONEOGRAPHY // MY PROCESS


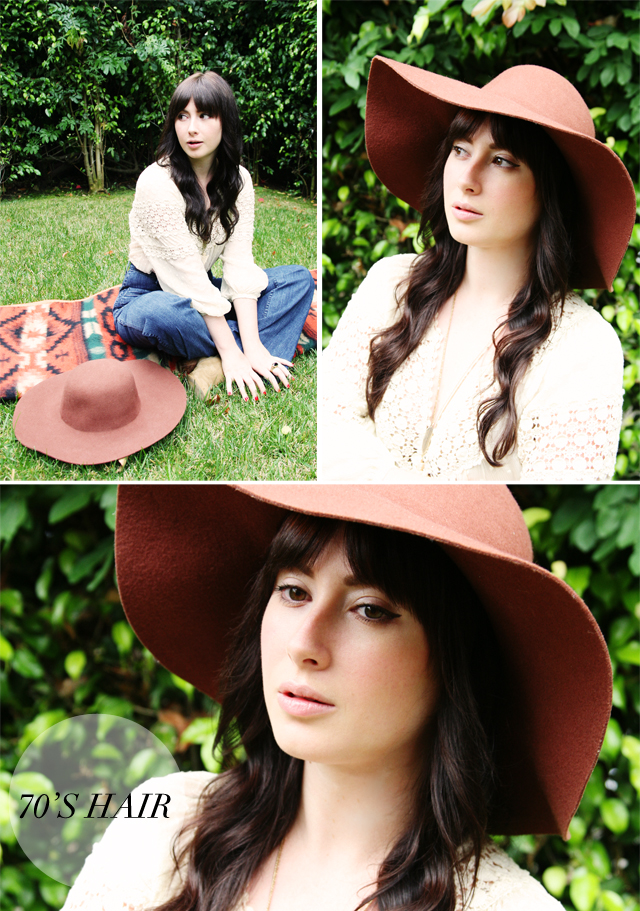
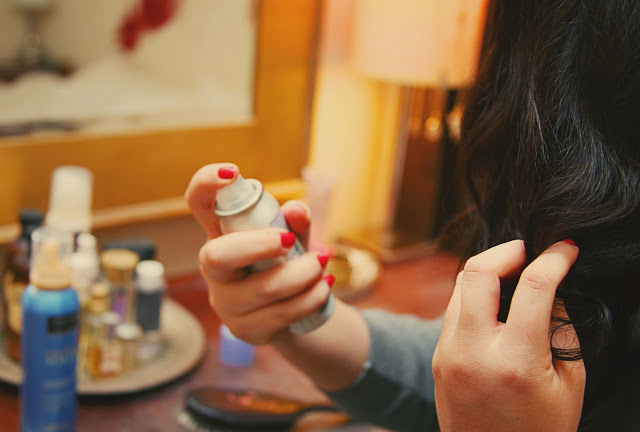
I blogged about my Instagram photo editing process last year and it is still one of my most viewed posts. Since my process has slightly changed, I thought I'd do another tutorial for you. I'm not saying that I go through all of these steps every time I post a photo on Instagram. Sometimes I just quickly add a filter and that's it, but I would say the majority of the time I go through each and every step. Taking the photo is the easy part, It's the editing that can take time. And by time I mean five minutes rather than one. 
VSCOcam // I've said it before and I'll say it again, VSCOcam is my favorite and most used photo editing app. I love the filters- G3, G1 and M5 being my most frequently used. You can also decide the strength of the filter from 1 to 12, which no other app does. I love that they have added features like the straightening tool and the ability to take your photo with a square frame around it, making it easier to gage what can fit into frame if posting on Instagram. I also use this app to lighten, add warmth or contrast. 
AfterLight // This app also has great filters and many tools that I love like sharpening, darkening shadows and adding clarity. 
Touch Retouch // I use this app to remove shadows, smudges, gum from a sidewalk, anything distracting. Sometimes it's not totally accurate or can make a smudge on a wall worse, but most of the time it is amazing. It's like photoshop on your phone. 
Snapseed // I have stopped using this app to straighten photos, since VSCOcam now offers this feature. However, I do still use it for a really genius feature- the ability to lighten, darken and add saturation to one section of my photo, rather than the entire thing. I have yet to see this feature on any other app and it can be very useful. 
TimerCam // To be honest the photo in the tutorial above was a self portrait taken from the top of my car using Timercam. It's a very straightforward app that takes a photo on a 5, 10, 15 or 30 second timer. It's great for self portraits and it's free. You can't beat free. 

I hope this tutorial gives you ideas, or some insight into my process. See you on Instagram!

IPHONEOGRAPHY // VSCO CAM

My favorite iPhone photo editing app VSCO CAM just upped their game and came out with a new version. Let me tell you in is phenomenal. It takes iPhoneography to the next level. There are so many amazing features, like the ability to take a photo in a square format, to focus on two subjects, white balance and 48 new filters. The list goes on. Oh and it's free! They also licenced about 30 of my iphone photos to showcase different filters. It's so fun for me to see my photos (some of me) in an app. I guess I can add 'App Model' to my resume. Who knew when I got an iPhone a year and a half ago that it would completely change my life as a photographer. So rad. Here is a walk through of the app for those of you who are curious. 


*side note- VSCO did not pay me to write about the new app, I just truly love it so much I had to share. 

HOW TO. WAVY HAIR

You may have noticed I wear my hair wavy most of the time. My hair is wavy naturally, but trust me it looks nothing like that. It is that weird in-between wavy/straight/frizzy, which is so rarely cute. I few people have asked me how I do my hair, so I thought I'd turn it in to a how-to. It is super easy once you get the hang of it. I can do it in 5-10 minutes and be out the door... 

What you'll need: Brush, Volumizing Spray or Mousse, Hair Clips, Curling Iron {1 inch- 1.5 inch}, Hair Spray
***{I use a 1.5 inch Conair Curling Iron, John Frieda Vomumizing Mousse or Spray and a chopstick to make the perfect middle part}


1. Start out by putting volumizing spray or mousse in your wet hair and blow it dry. The mousse/spray gives hair more body and helps the waves stay.
 2. Part your hair in the middle and separate the top half of your hair and pin it up. This is to make it easier to curl the bottom pieces.
 3. Start with the back sections and wrap your hair around the curling iron barrel away from your face. Leave the curling iron unclamped and hold the end of your hair away from the iron. 
 4. Now unwind the iron. The hair should look like this.
 5. Continue curling each section of hair until every section is curled. Remember to curl away from the face and do not use the clamp.
6. Once finished curling every section, straighten bangs with hair straightener and brush them out. ***Obviously this step is just for the ladies with bangs.
7. Spray hair with hair spray and scrunch curls with your hands a little to mess them up slightly. You don't want them looking too perfect.
8. It should look something like this. Hope this helps! Good luck!


***If you missed my winged liner tutorial check it out here